Easy DIY Otter Costume Guide: For All Ages & Occasions!
Ever dreamt of transforming into the playful, charismatic creature of the sea? Creating your own DIY otter costume is not only achievable but incredibly rewarding, opening doors to imaginative play, unforgettable parties, and a unique expression of your inner animal.
Forget complicated patterns and expensive materials. The beauty of a DIY otter costume lies in its simplicity and adaptability. Whether you're a seasoned crafter or a beginner looking for a fun project, this guide will provide you with the resources and inspiration to create a charming otter ensemble for any occasion. The goal is to provide guidance that caters to a wide range of ages and skill levels, incorporating readily available materials and simple techniques.
| Category | Details |
|---|---|
| Costume Type | DIY Otter Costume |
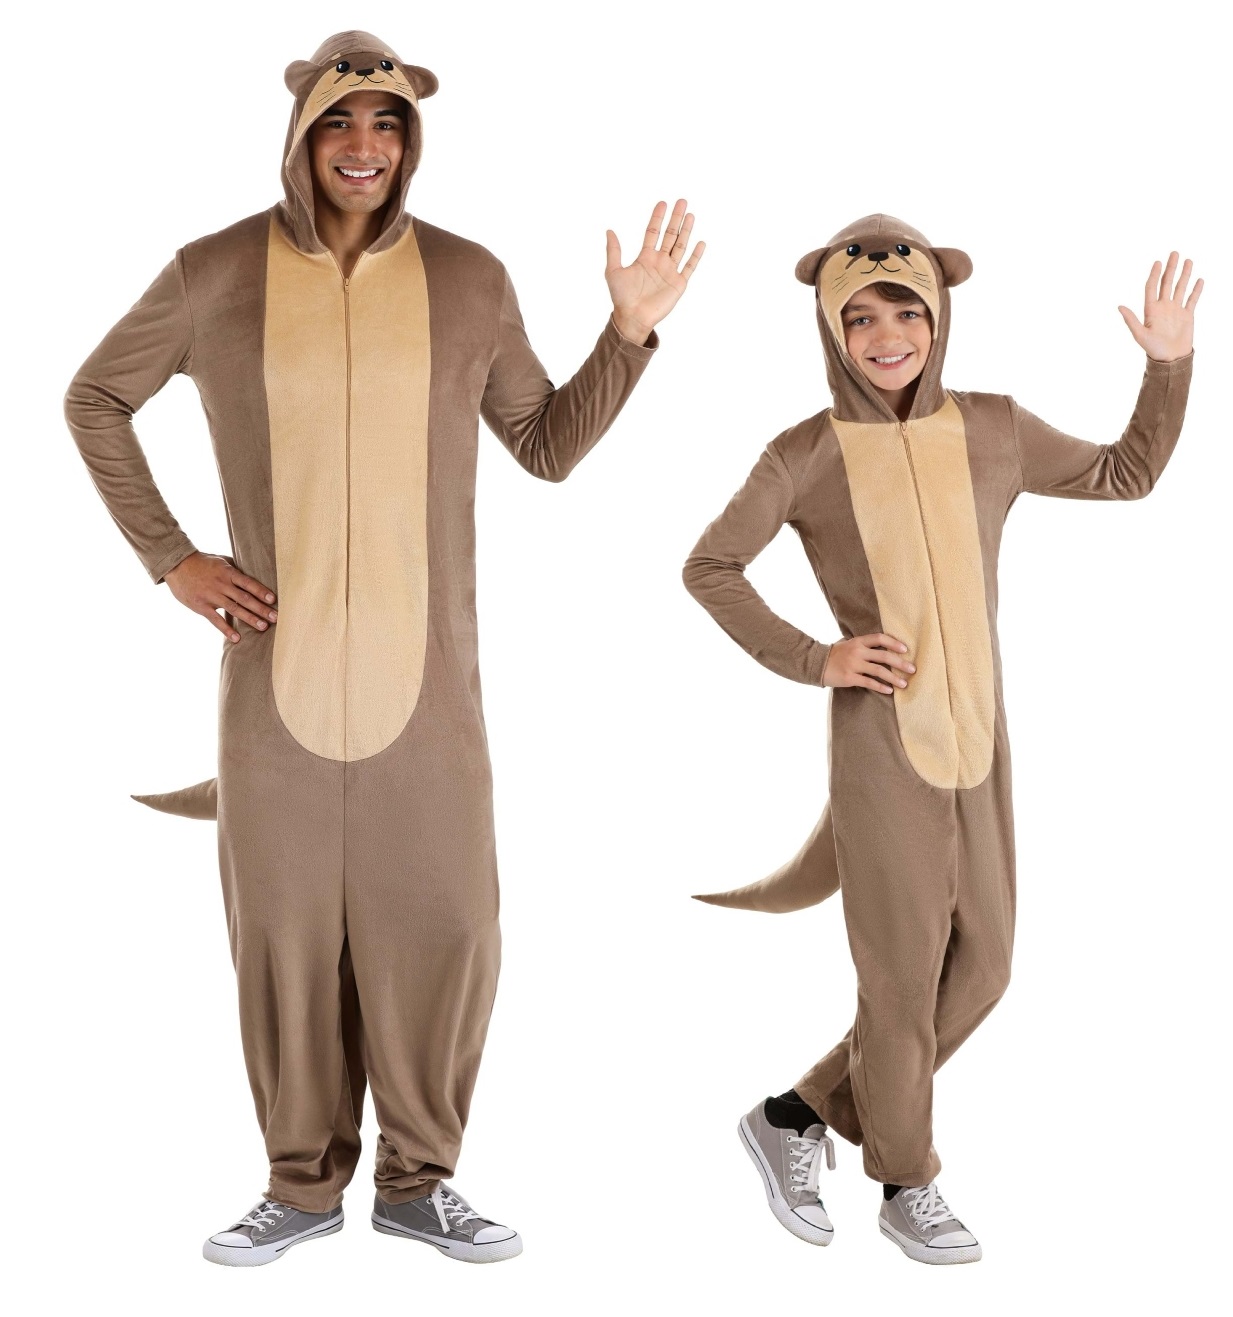
| Target Audience | All Ages (adaptable for children and adults) |
| Skill Level | Beginner to Intermediate |
| Materials | Readily available craft supplies, recycled materials, fabric scraps |
| Techniques | Simple sewing, gluing, cutting, and basic construction |
| Occasions | Family gatherings, costume parties, Halloween, school events, marine life education days, imaginative play |
| Design Considerations | Comfort, safety, ease of movement, adaptability for indoor/outdoor wear |
| Special Features | Options for flat-pack design (easy transport/storage), recycled materials, customizable details |
| Assembly | Designed for easy assembly, potentially by adults |
| Reference | Monterey Bay Aquarium - Sea Otter |
Transforming into an otter has never been easier! If you're looking to create a diy otter costume for all ages, this comprehensive guide is your ultimate resource. Whether it's for a family gathering, a costume party, or simply a fun weekend activity, crafting a handmade otter costume can be both enjoyable and rewarding. There's nothing cuter than a small animal lover all decked out in an animal costume. Using a few facts about sea otters, along with a hoodie and pants and a handful of craft items, create otter costumes for your special event, whether a marine life educational day or halloween. Transforming into an otter has never been easier! If you're looking to create a diy otter costume for all ages, this comprehensive guide is your ultimate resource. Whether it's for a family gathering, a costume party, or simply a fun weekend activity, crafting a handmade otter costume can be both enjoyable and rewarding.
- Discover The Remarkable Net Worth Of Billy Gibbons A Musical Icons Fortune
- Jensen Ackles Daughter All About His Child
Creating a diy otter costume is easier than you might think. From sourcing materials to assembling the final product, this guide will walk you through every step. Youll learn how to design the costume, choose the right fabrics, and add those finishing touches that bring your otter persona to life.
DIY costumes have become increasingly popular as people seek unique and personalized options for events and celebrations. Making your own otter costume allows you to tailor the design to your preferences, ensuring it perfectly embodies your vision. This approach not only allows for creative freedom but also offers an opportunity to teach children about resourcefulness and sustainability by repurposing existing materials.
Let's delve into the wonderful world of DIY otter costumes! This comprehensive guide will explore various techniques, materials, and design ideas, ensuring that you can craft the perfect otter look, regardless of your skill level or the occasion. We'll break down the process into manageable steps, offering tips and tricks along the way to make the experience both enjoyable and successful.
- The Legendary Robert De Niro An Unrivaled Master Of His Craft
- How Old Is Traci Braxtons Son Uncovering The Details
Understanding the Otter: Inspiration for Your Design
Before diving into the construction process, it's essential to understand the key characteristics of an otter. Observing images and videos of these creatures will help you capture their essence in your costume design. Consider the following features:
- Coloration: Otters typically have a rich brown fur, ranging from light tan to dark chocolate. Consider using various shades of brown to create depth and realism in your costume.
- Shape: Otters have a streamlined body with a long tail, perfect for swimming. Replicating this shape in your costume will enhance the otter-like appearance.
- Facial Features: Pay attention to the otter's cute, whiskered face. Adding whiskers and a rounded nose will contribute to the overall charm of the costume.
- Texture: Otter fur is dense and water-repellent. While you don't need to replicate the water-repellency, choosing fabrics with a soft, slightly textured surface will enhance the visual appeal.
Material Selection: A Guide to Otter-Friendly Fabrics
Choosing the right materials is crucial for both the look and comfort of your DIY otter costume. Here are some excellent options, keeping in mind accessibility and affordability:
- Fleece: A popular choice for its softness, warmth, and affordability. Fleece is easy to work with and comes in a wide range of brown shades.
- Felt: Ideal for smaller details like ears, nose, and whiskers. Felt is inexpensive and readily available in craft stores.
- Fake Fur: If you're aiming for a more luxurious look, consider using fake fur. Opt for a short-pile fur in a natural brown color.
- Recycled Fabrics: Old sweaters, blankets, and towels can be repurposed to create a unique and eco-friendly otter costume.
- Cardboard: For structural elements like the tail (especially for stage costumes), recycled cardboard can be a sustainable and sturdy option.
Essential Tools and Supplies
Before you begin, gather the necessary tools and supplies to ensure a smooth crafting experience. Here's a checklist:
- Scissors: Sharp scissors are essential for cutting fabric and other materials.
- Sewing Machine (Optional): A sewing machine will speed up the construction process, but hand-sewing is also perfectly viable.
- Needle and Thread: Choose a thread color that matches your fabric.
- Hot Glue Gun: A hot glue gun is useful for attaching smaller details and embellishments.
- Fabric Glue: Fabric glue provides a strong and flexible bond for fabrics.
- Pins: Use pins to hold fabric pieces together before sewing or gluing.
- Measuring Tape: Essential for accurate measurements.
- Pencil or Fabric Marker: For marking patterns and cutting lines.
- Cardboard (for structural elements): Recycled cardboard for creating the tail or other structural components, especially for stage costumes.
- Slotted Construction Elements: Consider using slotted construction techniques with cardboard for easy assembly and a flat-pack design for transport and storage.
Crafting the Core Costume: Hoodie and Pants Transformation
A simple and effective base for your DIY otter costume involves transforming a hoodie and a pair of pants. Here's how:
- Choose your base garments: Select a brown hoodie and pants that fit comfortably.
- Add the Belly Patch: Cut an oval shape from a lighter brown or cream-colored fleece or felt. Attach it to the front of the hoodie using fabric glue or by sewing.
- Create the Tail:
- Fleece Tail: Cut two tail shapes from brown fleece. Sew them together, leaving the bottom open. Stuff the tail with fiberfill or fabric scraps and sew the opening closed. Attach the tail to the back of the pants using fabric glue or by sewing.
- Cardboard Tail (for Stage): For stage costumes, create a tail using recycled cardboard. Design the tail in a flat-pack format with slotted construction for easy assembly. Paint or cover the cardboard with brown fabric for a more appealing look.
- Make the Ears: Cut two ear shapes from brown felt. Cut smaller inner ear shapes from pink or cream-colored felt. Glue the inner ear pieces to the larger ear pieces. Attach the ears to the hood of the hoodie using fabric glue or by sewing.
- Add Whiskers: Cut several lengths of black yarn or fishing line. Attach them to the sides of the hoodie's hood to create whiskers.
Advanced Techniques: Sewing a Custom Otter Suit
For those with sewing experience, creating a custom otter suit offers a more refined and realistic look. This project requires more time and effort but yields impressive results.
- Pattern Creation: Find a simple jumpsuit pattern or adapt an existing pattern to fit your measurements.
- Fabric Cutting: Cut the pattern pieces from your chosen brown fabric (fleece, fake fur, or recycled fabric).
- Sewing the Suit: Sew the pattern pieces together according to the pattern instructions.
- Adding Details: Add a lighter-colored belly patch, a stuffed tail, and ear details as described in the "Hoodie and Pants Transformation" section.
- Zipper or Fasteners: Install a zipper or other fasteners (snaps, Velcro) to allow for easy entry and exit.
Accessorizing Your Otter Costume: Bringing the Character to Life
Accessories can significantly enhance the overall look of your DIY otter costume. Consider adding the following:
- Paws: Create simple paw-shaped gloves or mittens from brown felt or fleece. Add small felt claws for a more realistic touch.
- Foot Covers: Sew or glue brown fabric over a pair of shoes or slippers to create otter-like feet.
- Nose: Use face paint or a small piece of black felt to create an otter nose.
- Makeup: Enhance your otter persona with subtle makeup. Use brown eyeliner to accentuate your eyes and add a touch of blush to your cheeks.
- Optional Prop: Carry a small plush fish or a smooth rock to mimic an otter's foraging behavior.
Adapting the Design for Different Ages and Skill Levels
The beauty of DIY costumes is their adaptability. Here's how to tailor the otter costume project to different ages and skill levels:
- Young Children: Focus on simplicity. Use pre-made garments like hoodies and sweatpants as a base. Opt for fabric glue instead of sewing to minimize safety risks.
- Older Children and Teens: Encourage more involvement in the design and construction process. They can assist with cutting fabric, sewing simple seams, and adding embellishments.
- Adults: Tackle more advanced techniques like sewing a custom suit or creating intricate accessories. Experiment with different materials and design variations.
- Beginners: Start with the hoodie and pants transformation method. It's a simple and satisfying project that requires minimal sewing skills.
- Experienced Crafters: Challenge yourself with a custom-sewn suit, incorporating advanced techniques like pattern drafting and fur manipulation.
Costume Design for Stage Performances
When creating an otter costume for a stage performance, several factors come into play:
- Visibility: Ensure the costume is easily visible from the audience. Use bright, contrasting colors and consider adding reflective elements.
- Durability: The costume needs to withstand movement and potential wear and tear during the performance. Choose sturdy materials and reinforce seams.
- Ease of Movement: The performer needs to be able to move freely and comfortably in the costume. Avoid restrictive designs and ensure proper ventilation.
- Flat-Pack Design: For easy transport and storage, design the costume in a flat-pack format, utilizing slotted construction with recycled cardboard. This allows for adult assembly on-site.
- Indoor/Outdoor Wear: Design the costume to be suitable for both indoor and outdoor performances, considering potential weather conditions.
Sustainable Costume Design: Reusing and Recycling Materials
Embrace sustainability by incorporating recycled and repurposed materials into your DIY otter costume. Here are some ideas:
- Old Sweaters and Blankets: Use old sweaters and blankets to create the main body of the costume.
- Plastic Bottles: Cut and shape plastic bottles to create structural elements like the tail or ears.
- Cardboard Boxes: Use cardboard boxes to create the tail, fins, or other accessories.
- Fabric Scraps: Use fabric scraps to add embellishments and details.
Step-by-Step Guide: Creating an Otter Costume from Recycled Materials
- Gather Materials: Collect old sweaters, cardboard boxes, plastic bottles, and other recyclable materials.
- Design the Costume: Sketch out your costume design, considering the materials you have available.
- Create the Body: Cut and sew the sweater to create the main body of the costume.
- Build the Tail: Cut and shape cardboard to create the tail. Cover the cardboard with fabric scraps or paint it brown.
- Make the Ears: Cut and shape plastic bottles to create the ears. Cover the plastic with fabric scraps or paint it brown.
- Add Embellishments: Use fabric scraps and other materials to add details like the belly patch, whiskers, and claws.
- Assemble the Costume: Attach the tail and ears to the body of the costume.
Troubleshooting Common Costume-Making Challenges
Even the most experienced crafters encounter challenges. Here are some common issues and their solutions:
- Fabric Slipping: Use pins or fabric clips to hold fabric pieces together before sewing.
- Uneven Seams: Use a seam ripper to correct mistakes and practice sewing straight lines on scrap fabric.
- Glue Not Sticking: Ensure the surfaces are clean and dry before applying glue. Use a strong adhesive and allow it to dry completely.
- Pattern Difficulties: Start with a simple pattern and gradually increase the complexity as you gain experience.
Showcasing Your Creativity: Otter Costume Ideas and Inspiration
Let your imagination run wild and explore different otter costume variations. Here are a few ideas to spark your creativity:
- Sea Otter with Kelp: Attach strips of green felt or fabric to the costume to represent kelp.
- River Otter with Fish: Carry a plush fish or create a small fishing net accessory.
- Baby Otter: Create a smaller version of the costume for a child or a pet.
- Otter Family: Coordinate costumes for the whole family, with each member representing a different type of otter.
Maintaining and Storing Your DIY Otter Costume
Proper care will extend the life of your DIY otter costume. Follow these tips:
- Cleaning: Spot clean the costume with a damp cloth and mild detergent. Avoid washing it in the washing machine unless the materials are machine-washable.
- Storage: Store the costume in a cool, dry place away from direct sunlight. Use a garment bag to protect it from dust and damage.
- Repairs: Repair any tears or loose seams promptly to prevent further damage.
Crafting a DIY otter costume is a fantastic way to unleash your creativity, learn new skills, and create a unique and memorable outfit. With readily available materials, simple techniques, and a dash of imagination, you can transform into the adorable and playful otter of your dreams. So gather your supplies, put on your crafting hat, and get ready to embark on an otterly amazing adventure!
Remember to tailor the design to your individual needs and preferences. Whether it's for a costume party, a school play, or a fun family activity, a DIY otter costume is sure to bring joy and smiles to everyone involved.
Don't be afraid to experiment with different materials, techniques, and embellishments. The most important thing is to have fun and create a costume that reflects your unique personality and style.
So, dive into the world of DIY costume making and discover the magic of transforming into an otter. The possibilities are endless, and the results are sure to be otterly spectacular!
And if you are using costume for stage design costume to be worn on a stage by middle school students.Create costume out of recycled cardboard and slotted construction.The costume needs to be made in flat pack product design form for easing transport and storing.These costumes are designed so that an adult can assemble them.The costumes are designed to be worn inside or outside.

DIY Sea Otter Costume Sea otter, Otters, Costumes
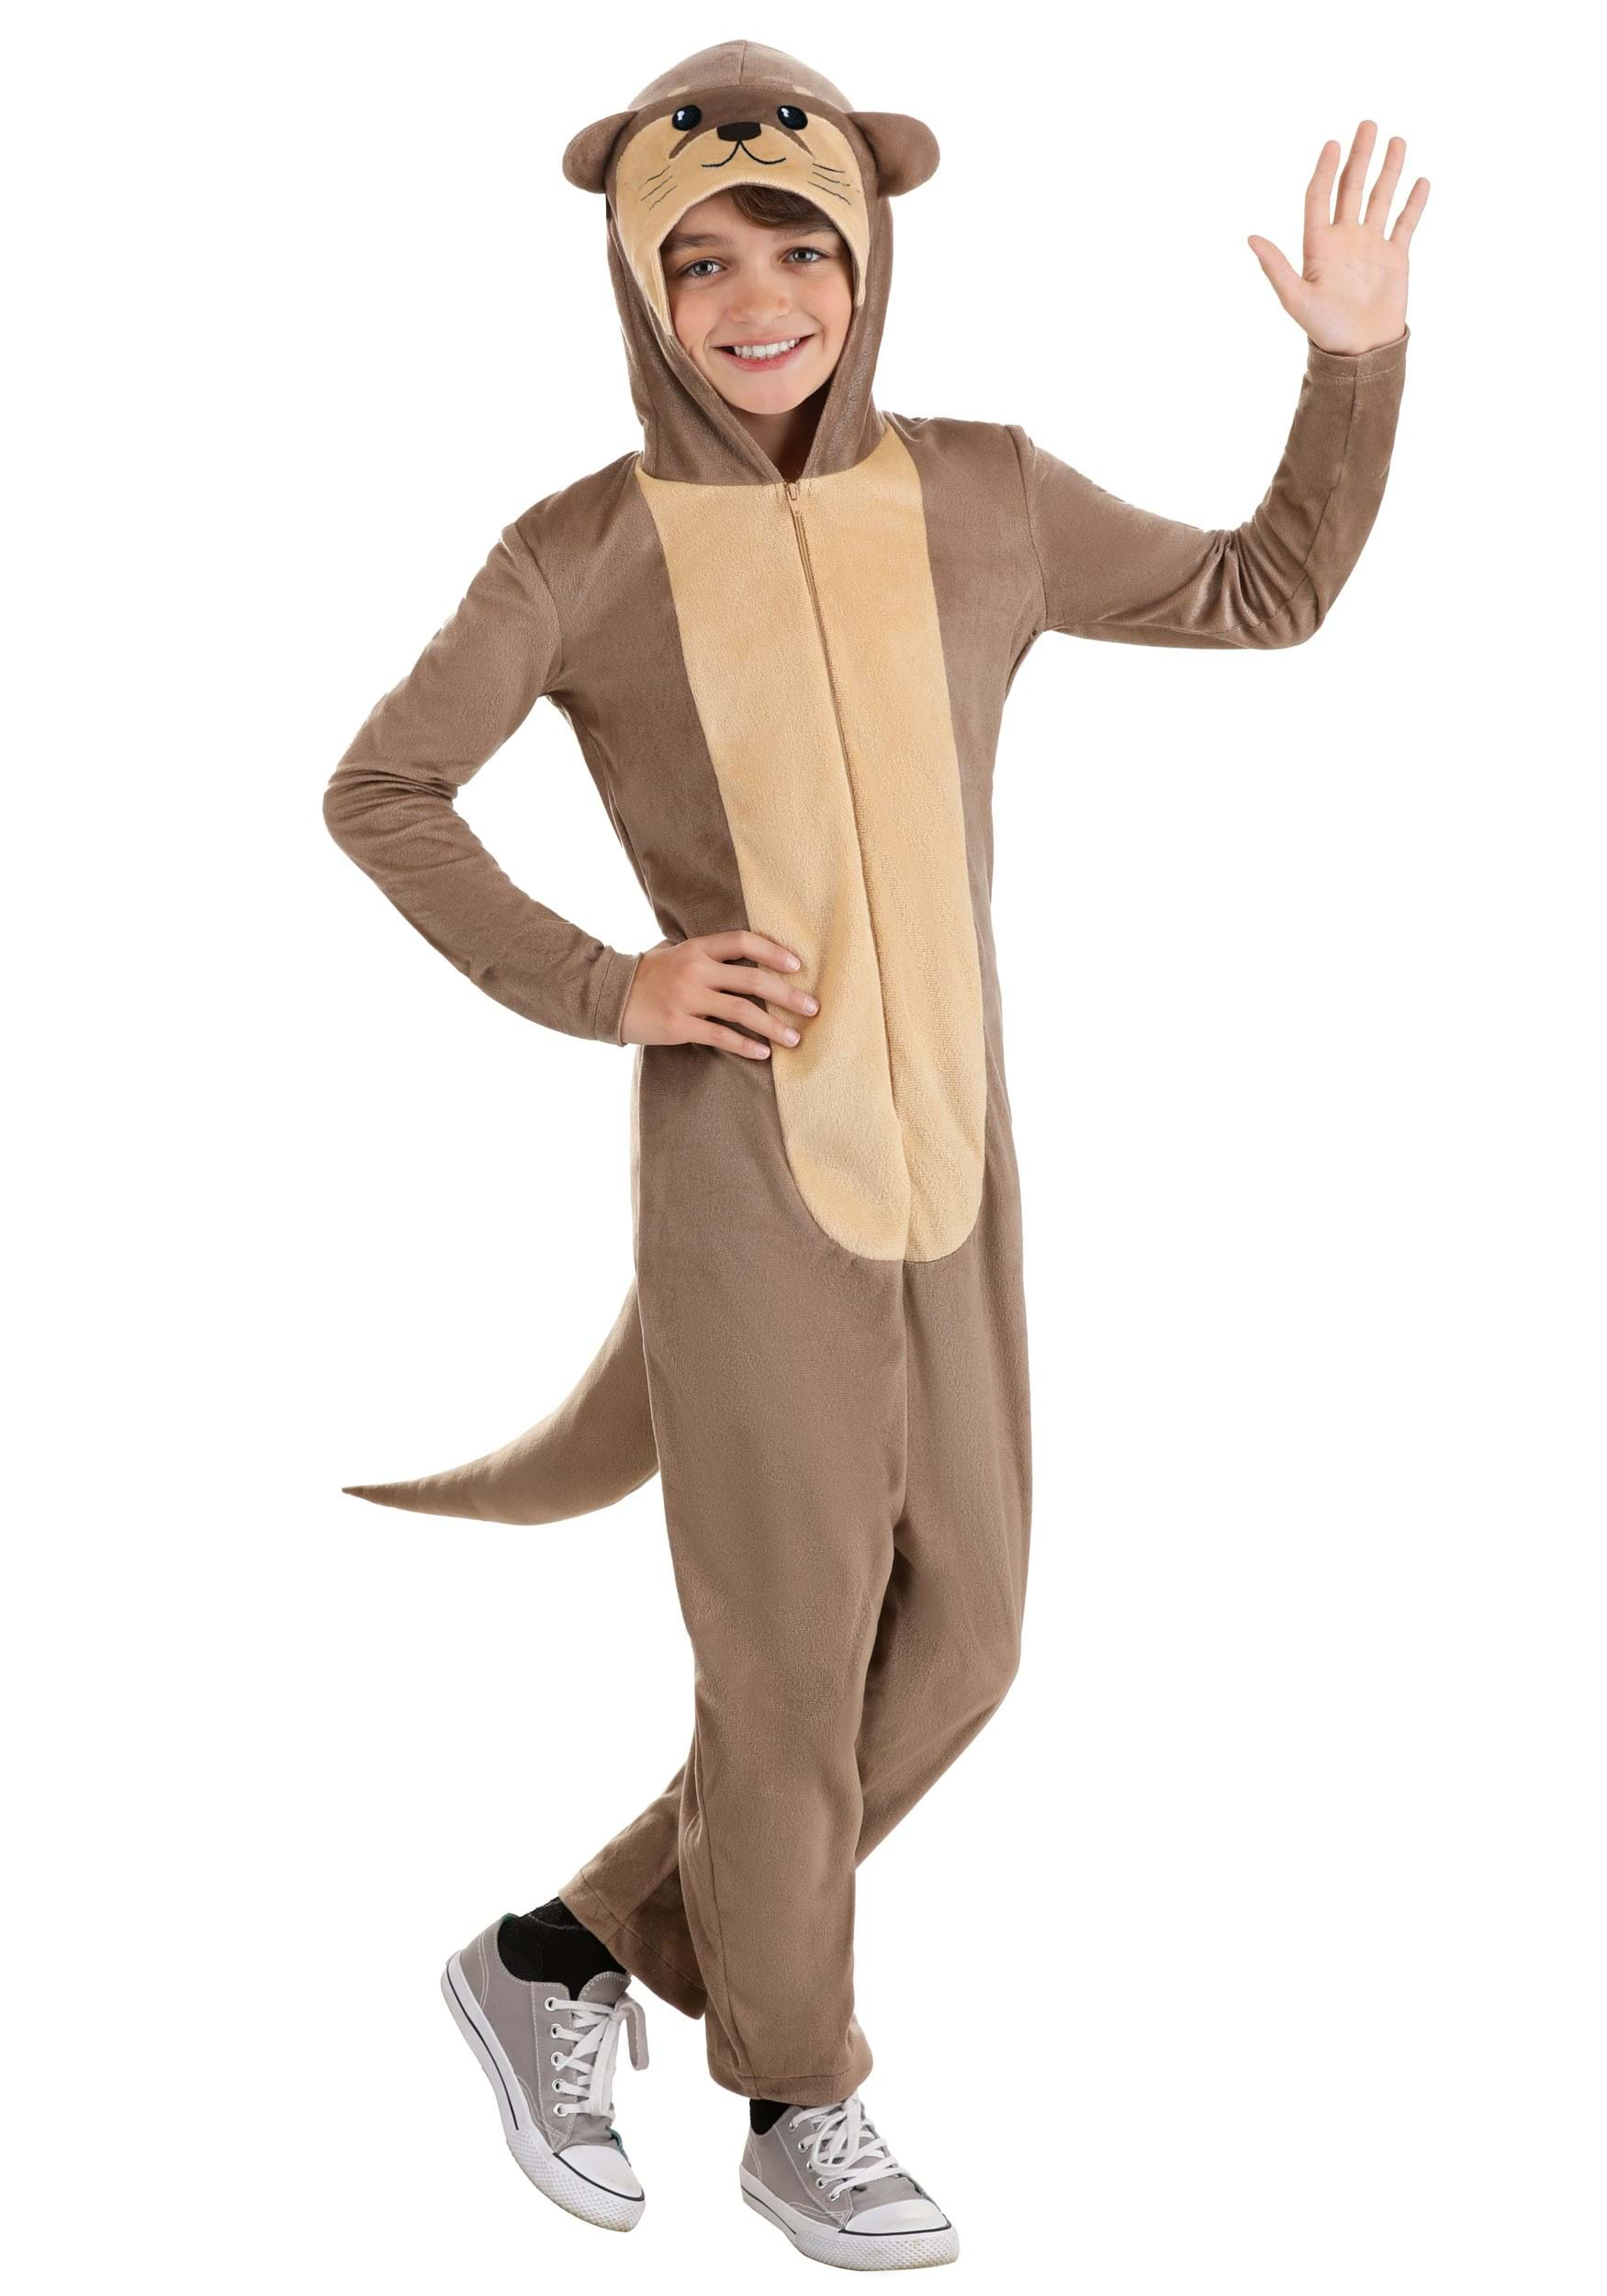
Otter Kid's Costume
Unique Halloween Costumes Be the Only _____ at the Party [Costume
