Free Raspberry Pi Remote IoT Monitoring: Easy Setup Guide!
Ever wondered if you could peek into the inner workings of your Raspberry Pi from across the globe? The answer is a resounding yes, and it's achievable through free remote IoT monitoring, empowering you to oversee your devices without spending a fortune.
The beauty of delving into remote IoT monitoring lies in its simplicity. You can swiftly grasp the fundamental concepts, unlocking the ability to scrutinize the performance of your network. Imagine knowing precisely how your Raspberry Pi is behaving, even when you're miles away. This level of insight is invaluable for maintaining optimal operation and troubleshooting potential issues before they escalate.
| Attribute | Details |
|---|---|
| Name | Raspberry Pi Remote Monitoring |
| Category | IoT Device Management |
| Key Features | Remote access, performance monitoring, secure connection (SSH), storage usage tracking, health monitoring, software management |
| Target User | Hobbyists, professionals, IoT developers, system administrators |
| Typical Use Cases | Server monitoring, IoT device management, home automation system oversight, remote data collection, troubleshooting |
| Essential Components | Raspberry Pi, MicroSD card (at least 16GB), Power supply, Internet connection |
| Software Solutions | Cockpit, SSH, various open-source monitoring tools |
| Benefits | Cost-effective, versatile, user-friendly, improves system efficiency, enables proactive maintenance |
| Limitations | SD card dependency, requires technical setup, potential security vulnerabilities (if not configured properly) |
| Related Information | Raspberry Pi Official Website |
At the heart of this remote access setup is SSH, or Secure Shell. SSH is not just a tool; it's a secure conduit, providing an encrypted channel to gain entry and manage your Raspberry Pi from a remote location. Without SSH, the risks of exposing your system to unauthorized access skyrocket, making it a cornerstone of any remote monitoring strategy.
In the simplest terms, remote IoT monitoring lets you keep a watchful eye on your Raspberry Pi's vital signs from any corner of the world. This encompasses performance metrics, storage utilization, and overall system health. Think of it as having a virtual dashboard, constantly updated with real-time data, allowing you to react swiftly to any anomalies or potential problems.
For those seeking a user-friendly entry point, Cockpit emerges as a top contender. Cockpit streamlines the process of monitoring and managing your Raspberry Pi remotely, presenting a clean and intuitive interface. It's readily available through the official repositories and can be installed with a single, straightforward `apt` command.
Embarking on this journey requires a few essential ingredients. To transform your Raspberry Pi into a remote monitoring point, you'll need the following:
- Watch Kate Plus 8 Episodes Online Family Moments And Milestones
- The Legendary Robert De Niro An Unrivaled Master Of His Craft
- Raspberry Pi 5 (or earlier versions like Raspberry Pi 3/4 for lighter tasks)
- MicroSD card (at least 16GB for the operating system and monitoring software)
- Power supply for Raspberry Pi
With the necessary hardware in hand, the next step involves preparing your microSD card. Download the Raspberry Pi Imager tool from the official website and use it to flash the latest version of Raspberry Pi OS (formerly Raspbian) onto your microSD card. This process installs the operating system that will power your remote monitoring station.
Once the OS is installed, carefully insert the card into your Raspberry Pi and power it on. The Raspberry Pi will then boot from the microSD card, initiating the operating system and preparing it for the next phase of configuration.
The software landscape for remote monitoring with Raspberry Pi is diverse. Several options exist, each offering its own set of features and capabilities. This allows you to choose the solution that best aligns with your specific needs and technical expertise.
In today's digitally interconnected world, remote monitoring of IoT devices has become indispensable for managing systems effectively. Whether you're overseeing a sprawling network of sensors or a single home automation setup, the ability to remotely monitor and control your devices is paramount.
Whether you're a seasoned professional or a curious hobbyist, grasping the intricacies of setting up remote IoT monitoring with SSH on a Raspberry Pi can significantly elevate your ability to manage devices from anywhere. This knowledge empowers you to maintain optimal performance, troubleshoot issues, and ensure the smooth operation of your IoT deployments.
Raspberry Pi remote monitoring software free solutions have witnessed a surge in popularity, owing to their versatility, affordability, and ease of deployment. These solutions democratize access to powerful monitoring capabilities, making them accessible to a wider audience.
Whether you're tasked with managing servers, IoT devices, or intricate home automation systems, the Raspberry Pi provides an exceptional platform for remote monitoring. Its small size, low power consumption, and robust processing capabilities make it an ideal choice for resource-constrained environments.
In this comprehensive exploration, we'll delve into the realm of free software solutions designed for remote Raspberry Pi monitoring, uncovering their strengths and limitations.
Before the Raspberry Pi 3 Model B can boot from the network, it needs to be initiated from an SD card with a specific configuration option that enables USB boot mode. This initial boot process is crucial for setting the stage for subsequent network booting.
This process sets a bit within the OTP (One-Time Programmable) memory of the Raspberry Pi's System on a Chip (SoC). This bit acts as a permanent switch, enabling the Raspberry Pi to boot from the network in the future.
Monitoring the health and status of the SD card is paramount for maintaining the reliability of your Raspberry Pi. SD card corruption can lead to a cascade of problems, potentially rendering your system unusable.
Arguably, the most prevalent issue encountered by Raspberry Pi users is the detrimental effect of a corrupted SD card. This vulnerability can manifest unexpectedly, leading to system instability and data loss.
Older SD cards are particularly susceptible to corruption, which can quickly lead to the operating system becoming unable to boot. This can result in downtime and the need for manual intervention to restore the system.
To flash and configure an OctoPrint image onto the SD card, insert the SD card into your PC and adhere to the instructions provided to flash and configure the OctoPrint image to the SD card using Etcher.
Configure the wireless settings using the relevant settings documentation. This will enable your Raspberry Pi to connect to your local Wi-Fi network, facilitating remote access.
After configuring the OctoPrint image, insert the SD card into the Raspberry Pi. This will allow the Raspberry Pi to boot from the newly configured SD card.
For Raspberry Pi OS installations, a minimum of 32GB of storage is recommended for the SD card. This ensures sufficient space for the operating system, applications, and data.
For Raspberry Pi OS Lite, a leaner version of the operating system, a minimum of 16GB is recommended. This smaller footprint is suitable for applications with limited storage requirements.
You can utilize any SD card with a capacity of less than 2TB. This provides a wide range of options to choose from, catering to different storage needs and budgets.
Capacities exceeding 2TB are currently unsupported due to limitations in the Master Boot Record (MBR). This limitation restricts the maximum addressable storage space.
As with any boot media, you'll experience improved performance with faster SD cards. This translates to quicker boot times, faster application loading, and a more responsive user experience.
Access your Raspberry Pi from any location with an internet connection. This unlocks the full potential of remote management, allowing you to interact with your device regardless of your physical location.
It's a secure remote access solution tailored for Raspberry Pi OS, empowering you to connect to your Raspberry Pi desktop and command line directly from any web browser. This provides a seamless and intuitive remote access experience.
We recommend using an SD card with at least 32GB of storage for Raspberry Pi OS installations. A larger capacity provides ample room for the operating system, software, and data storage.
For Raspberry Pi OS Lite, a minimum of 16GB of storage is recommended. This lighter version of the OS is ideal for projects with limited storage requirements.
You can use any SD card with a capacity of less than 2TB. This provides flexibility in choosing the right SD card for your needs and budget.
Capacities exceeding 2TB are currently not supported due to limitations in the MBR. This technical restriction limits the maximum addressable storage space.
As with any boot media, you'll see improved performance with faster SD cards. Faster cards contribute to quicker boot times and improved responsiveness.
Monitor the health of your SD card and the remaining lifetime of your Raspberry Pi. This proactive monitoring helps prevent data loss and system failures.
On the Raspberry Pi, the SD card is a critical component, serving as the primary storage medium for the operating system and applications. Its reliability directly impacts the overall system stability.
The SD card provides essential storage for crucial features such as the operating system. Without a functioning SD card, the Raspberry Pi cannot operate.
The inherent fragility of SD cards represents the weak link in the Raspberry Pi ecosystem. Their susceptibility to corruption can lead to frustrating system failures.
A Raspberry Pi, preferably the Pi 4 with 2 or 4 GB of RAM, offers sufficient processing power and memory for demanding monitoring tasks.
A USB (C for the Pi 4, Micro USB for the older ones) power supply with around 3.0A provides stable and reliable power to the Raspberry Pi.
A microSD card with 16+ GB from a reputable manufacturer, should be fast for optimal performance and data storage.
A case (with cooling) for the Pi, or at least heatsinks, helps dissipate heat and maintain stable operating temperatures.
If you don't have one yet, consider purchasing an SD card with sufficient capacity and speed for your project needs.
Before the Raspberry Pi 3 Model B can network boot, it needs to be booted from an SD card with a config option to enable USB boot mode. This initial configuration is crucial.
This will set a bit in the OTP (one time programmable) memory in the Raspberry Pi SOC that enables network booting. This configuration is permanent and enables network booting in the future.
Monitor the health of the SD card and the lifetime of the Raspberry Pi to ensure continued reliability. Proactive monitoring helps identify potential issues before they escalate.
SD card plays an essential role on Raspberry Pi, and with the help of remote IoT, you can monitor SD card health and detect the remaining lifetime and disk errors of the SD card so that you can determine if you need to replace the SD card or not. This proactive approach minimizes downtime and prevents data loss.
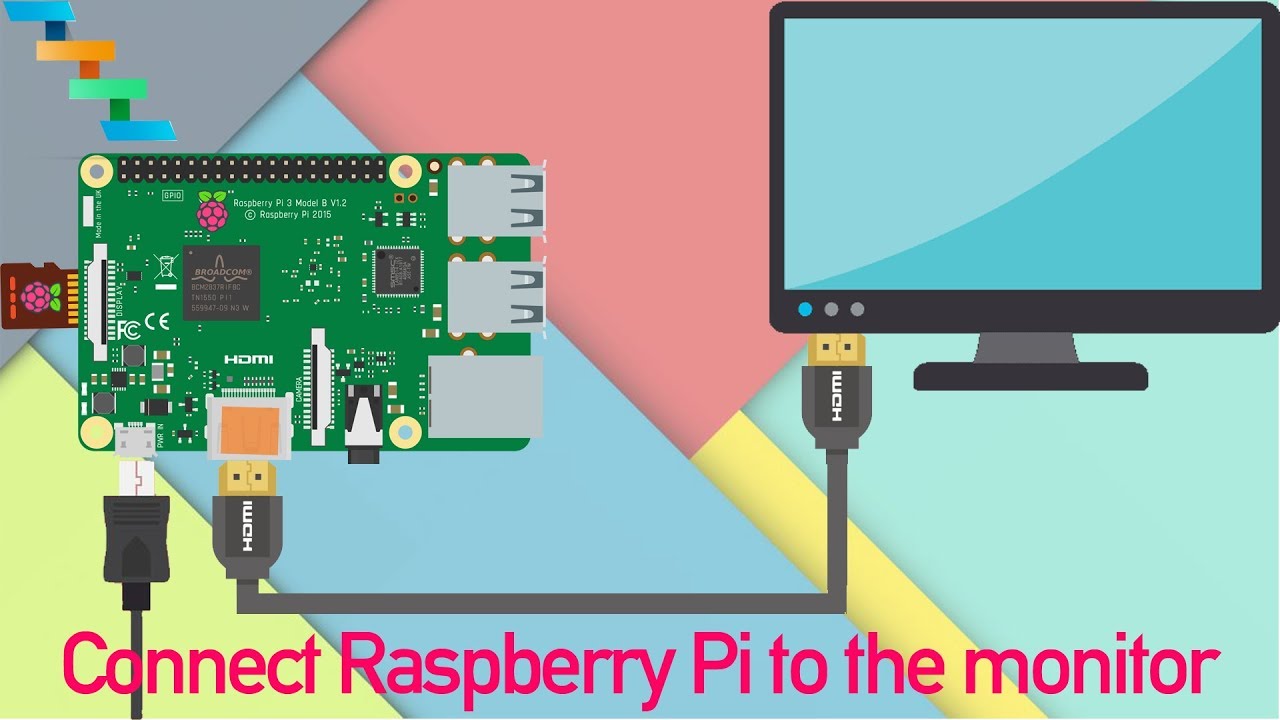
Monitor, keyboard, and mouse are required for the initial setup of the Raspberry Pi. These peripherals are essential for configuring the system and installing the necessary software.
This ensures optimal performance and reliability for your Raspberry Pi projects. A stable and well-maintained system provides a solid foundation for your applications.
Insert the SD card into your Raspberry Pi after flashing the operating system image. This allows the Raspberry Pi to boot from the newly installed operating system.
We recommend using an SD card with at least 32GB of storage for Raspberry Pi OS installations. A larger capacity provides ample room for the operating system, software, and data storage.
For Raspberry Pi OS Lite, a minimum of 16GB of storage is recommended. This lighter version of the OS is ideal for projects with limited storage requirements.
You can use any SD card with a capacity of less than 2TB. This provides flexibility in choosing the right SD card for your needs and budget.
Capacities exceeding 2TB are currently not supported due to limitations in the MBR. This technical restriction limits the maximum addressable storage space.
As with any boot media, you'll see improved performance with faster SD cards. Faster cards contribute to quicker boot times and improved responsiveness.
- Discover Johnny Mathis Age Embracing A Timeless Talent
- The Legendary Robert De Niro An Unrivaled Master Of His Craft

Remote Access For Raspberry Pi From Mac happylasopa

How To Use A Raspberry Pi System Monitor Remote App For Free A Complete
How To Monitor Raspberry Pi Remotely With A Free App A Complete Guide 3
